
How to Change Product Photo Background to Pure White — Complete Guide
Learn three ways to get a pure white background (in-camera, Photoshop, AI), understand what each marketplace actually requires, and avoid the 9 most common mistakes that make product photos look unprofessional.
Drop your image here
or click to browse files
By uploading an image you agree to our Terms and Privacy Policy
White Background Requirements by Marketplace
Each platform enforces different rules. Amazon and Walmart scan your images algorithmically — here is what you need to pass.
| Platform | White BG Required? | RGB Spec | Min Resolution | Product Fill | Max File Size | Non-Compliance |
|---|---|---|---|---|---|---|
| Amazon | Required | 255,255,255 | 1000px (1600+ ideal) | ≥ 85% | 10MB | Listing suppressed |
| Walmart | Required | 255,255,255 | 1500×1500px | ≥ 80% | 5MB | Auto-unpublished |
| eBay | Recommended | White or light | 500px (1600+ ideal) | ≥ 50% | 7MB | Search ranking drop |
| Etsy | Not required | Any | 2000px short side | — | 1MB | None (style affects conversion) |
| Shopify | Not required | Any | 2048×2048px ideal | — | 20MB | None (consistency matters) |
Amazon
Required255,255,255
1000px (1600+ ideal)
≥ 85%
10MB
Listing suppressed
Walmart
Required255,255,255
1500×1500px
≥ 80%
5MB
Auto-unpublished
eBay
RecommendedWhite or light
500px (1600+ ideal)
≥ 50%
7MB
Search ranking drop
Etsy
Not requiredAny
2000px short side
—
1MB
None (style affects conversion)
Shopify
Not requiredAny
2048×2048px ideal
—
20MB
None (consistency matters)
Pro tip: Shoot or export one 2200×2200px master image, then create platform-specific derivatives for Amazon, Walmart, eBay, Etsy, and Shopify.
3 Ways to Get a Pure White Product Background
Compare the three methods — from shooting in a studio to using AI for instant results — and pick the right approach for your catalog size, budget, and quality needs.
In-Camera Studio Setup
Light the background separately 1–2 stops brighter than the product using a seamless white sweep and dedicated background lights. Shoot RAW at f/8–f/11 with the product 1–2 feet from the backdrop. Best for: full creative control, studio shoots, flagship products.
Photoshop Manual Editing
Use the Pen Tool for precise paths, Select & Mask for edge refinement, and Levels adjustment layers to push the background to pure white. 7–20 minutes per image. Best for: hero shots, complex edges, small catalogs under 20 SKUs.
AI One-Click Background Removal
Upload your image and let AI remove the background and replace it with pure white in 2–5 seconds. Batch-process 100 images in about 6 minutes, then manually refine only the 5–8% with complex edges. Best for: multi-SKU catalogs, daily uploads, sellers who need fast turnaround.
In-Camera: Get the White Background Right Before You Edit
Starting with a well-lit photo saves hours of editing. Use a seamless white sweep (paper or plexiglass) and light the background separately from the product — the background should be 1–2 stops brighter. Shoot in RAW at ISO 100–200, f/8–f/11, and check your histogram to make sure the background data pushes to the right edge. Move the product at least 1–2 feet away from the background to avoid light spill and harsh shadows. This method gives you the most natural-looking result with realistic shadows and edge transitions that are hard to replicate in post-production.
Try it now
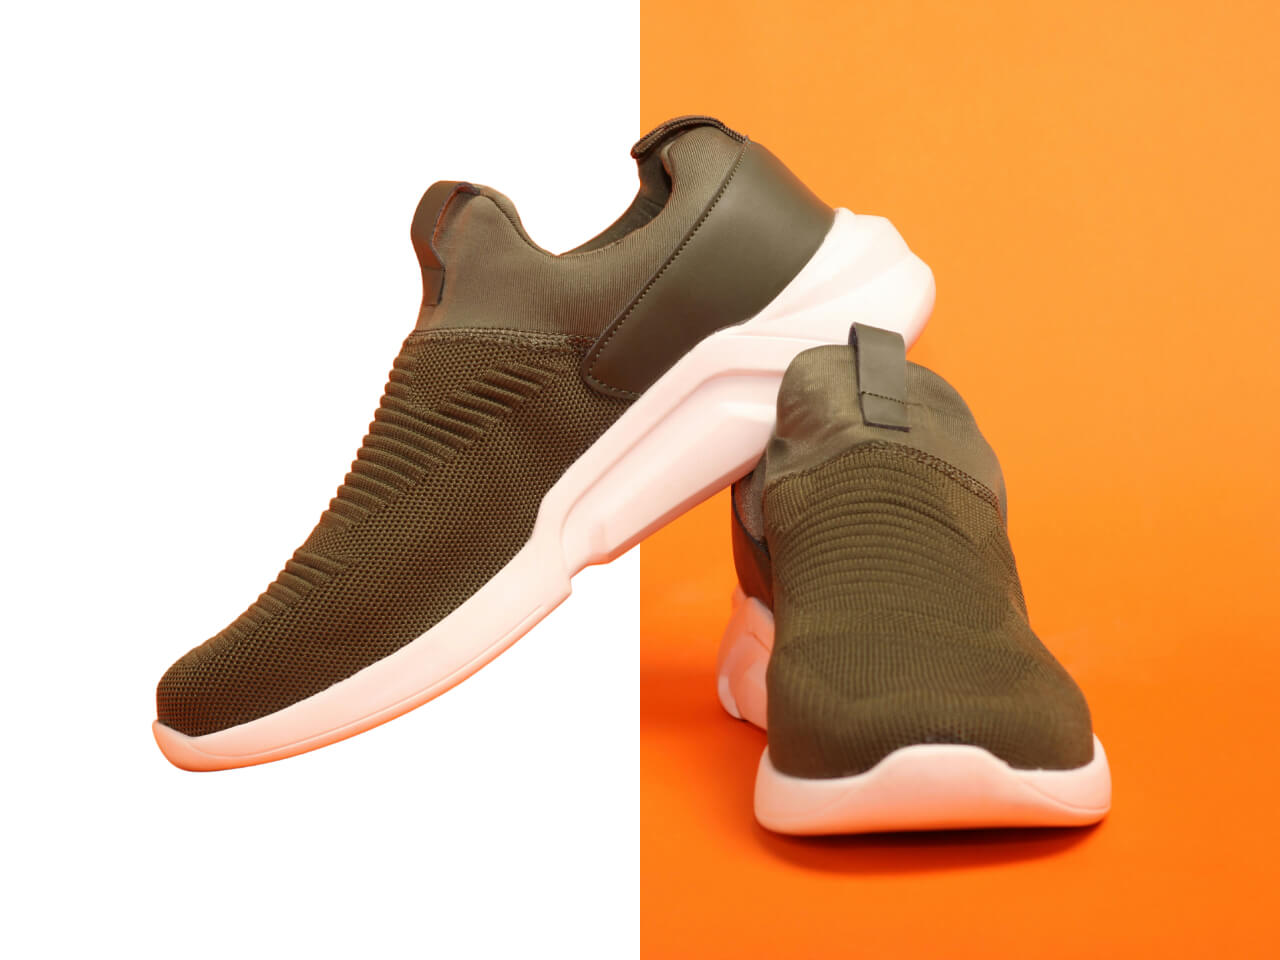
9 Mistakes That Make White Background Photos Look Unprofessional
Even experienced sellers get these wrong. The most common issues — gray backgrounds from underexposure, products that look like they are floating because shadows were removed, white halos around edges from light spill, and white products disappearing into white backgrounds — can all be fixed once you know what causes them. Below are the nine mistakes we see most often in e-commerce product photos, along with exactly how to fix each one.
Batch White Background Workflow for Multi-SKU Catalogs
For catalogs with 50 or more SKUs, a repeatable batch workflow saves days of editing. Start by standardizing your capture setup (same lighting, same distance, same camera settings for every product in a category). Use AI background removal for the first pass on all images, then spot-check edges at 200% zoom. Manually refine only the 5–8% of images with complex edges — hair, lace, reflective surfaces, or transparent materials. Export platform-specific versions (Amazon at 2000px, Etsy under 1MB, Walmart at 2200×2200px square), embed the sRGB color profile, and verify backgrounds are true #FFFFFF with the eyedropper tool before publishing.
Start now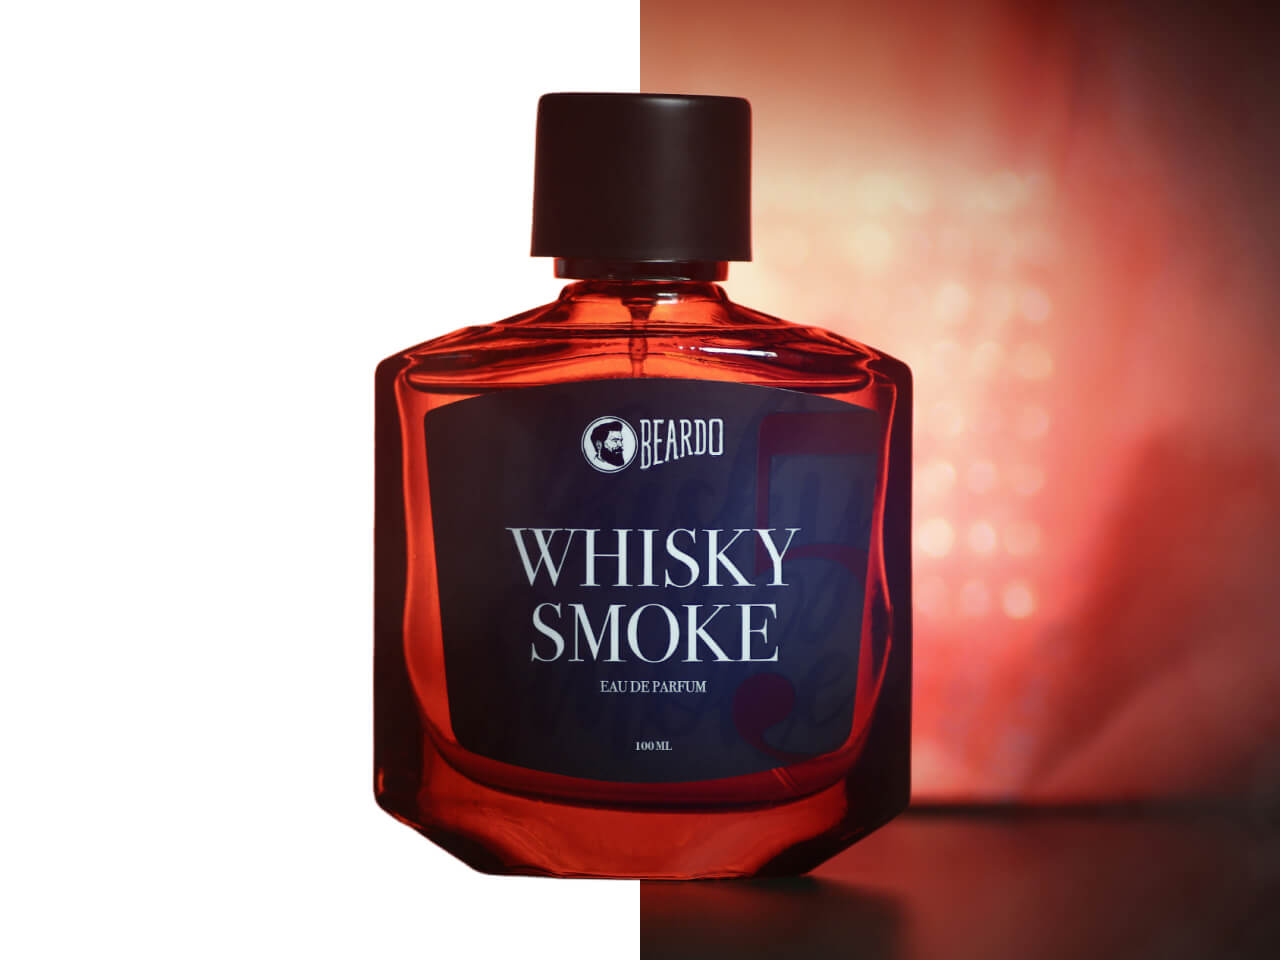
9 Common White Background Mistakes & How to Fix Them
Each mistake below appears in real e-commerce listings every day. Check your own product photos against this list.
1. Gray or off-white background
Fix: Bump exposure +⅔ to +1 EV in-camera, push Whites slider in post
Cameras meter for middle gray, so they naturally turn white backgrounds light gray. Overexpose the background slightly and verify with the eyedropper tool that you are hitting RGB 255,255,255 — especially in the corners where light falls off first.
2. Floating product (no shadow)
Fix: Keep a soft contact shadow at 5–10% opacity
Removing the shadow entirely makes the product look pasted onto the page. A subtle contact shadow anchors the product and gives it visual weight. Use a soft black brush at low opacity on a separate layer, or preserve the natural shadow during background removal.
3. White halo around product edges
Fix: Move the product farther from the background, use black flags
Background light reflecting off the product edges creates a bright glow. Move the subject at least 1–2 feet away from the backdrop and place black foam boards just outside the frame to absorb stray light and define the edges.
4. White product disappears into white background
Fix: Add rim lighting or dark bounce cards for edge contrast
White or light-colored products need edge definition against a white background. Use a backlight or strip light to create a subtle rim highlight, or position dark cards near the product edges to create a defining reflection line.
5. Jagged or rough edges after cutout
Fix: Use Select & Mask with Shift Edge -2 to -5px, feather 0.5–1px
Poor masking leaves pixelated outlines and background fragments clinging to edges. In Photoshop, use Select & Mask with a slight negative shift and minimal feather. Always inspect edges at 200% zoom against a dark background layer before exporting.
6. Blown-out product highlights
Fix: Light the background and product separately, reduce Highlights slider
When you push overall exposure to make the background pure white, light-colored product areas often blow out too. Separate the background and product lighting, and use a mask or the Highlights slider to protect product detail while whitening only the background.
7. Color cast or yellowish shadows
Fix: Set custom white balance with a gray card, use 5600K lights, desaturate shadows in post
Mixed lighting sources or warm ambient light can tint shadows yellow, orange, or blue. Use consistent 5600K daylight-balanced lights, block ambient light, set a custom white balance with a gray card, and desaturate shadow areas if needed in post.
8. Wrong color profile — colors shift after upload
Fix: Always export in sRGB, never Adobe RGB or ProPhoto RGB
This is the most common invisible mistake. Images edited in Adobe RGB or ProPhoto RGB look correct in Photoshop but shift colors when uploaded to the web. Always convert to sRGB and embed the profile before exporting for any e-commerce platform.
9. Inconsistent shadows across a product catalog
Fix: Create a shadow style guide and apply it to every image
When one product has a grounded shadow, another floats, and a third has a hard drop shadow, your catalog looks disorganized. Define a shadow style (type, direction, softness, opacity) once and apply it consistently across your entire product line.
Try It: Change Your Product Background to Pure White
Upload a product photo above and get a clean white background in seconds. Check the edges at 200% zoom, verify RGB 255,255,255 with the color picker, and download when ready.