
Where and How to Use Transparent Product Images Across Every Channel
Transparent PNGs are the most flexible product image format — but knowing where to use them (and where a white background actually converts better) makes all the difference. This guide covers every channel, with real data to back up each decision.
Drop your image here
or click to browse files
By uploading an image you agree to our Terms and Privacy Policy
The Transparent Asset Workflow: Create, Verify, Deploy
A repeatable three-step process for creating clean transparent PNGs, verifying edge quality, and deploying the right format to each marketing channel.
Remove Background & Verify Edges
Upload your product photo and let AI remove the background. Before using the result, check edges at 200% zoom against a dark background layer to catch white halos, jagged outlines, or leftover background fragments that are invisible on a white canvas.
Decide: Transparent or White Per Channel
Not every channel needs transparency. Product detail pages convert 23% better with white backgrounds, while category grids perform 18% better with transparent images. Use the decision framework below to pick the right format for each placement.
Export & Deploy to Each Channel
Save your transparent master as PNG-24, then export channel-specific derivatives: white-background JPEG for detail pages, transparent WebP for category grids, transparent PNG for ads and social, and compressed JPEG for email. One master file powers every format.
Transparent vs White Background: When to Use Which (With Real Data)
A controlled test across 40 products over three months found that white backgrounds convert 23% better on standalone product detail pages, while transparent backgrounds convert 18% better in category grid views where multiple products appear together. The reason: white removes visual noise so shoppers focus on details, while transparent images let category grids feel cleaner and less boxy. The best practice is to keep a transparent PNG as your master asset — you can always export a white JPEG from it, but you cannot recover transparency from a white JPEG. Use transparent for category grids, marketing banners, social media graphics, and print-on-demand. Use white for product detail pages, Amazon and eBay main images, Google Shopping feeds, and email marketing sections with white backgrounds.
Try it now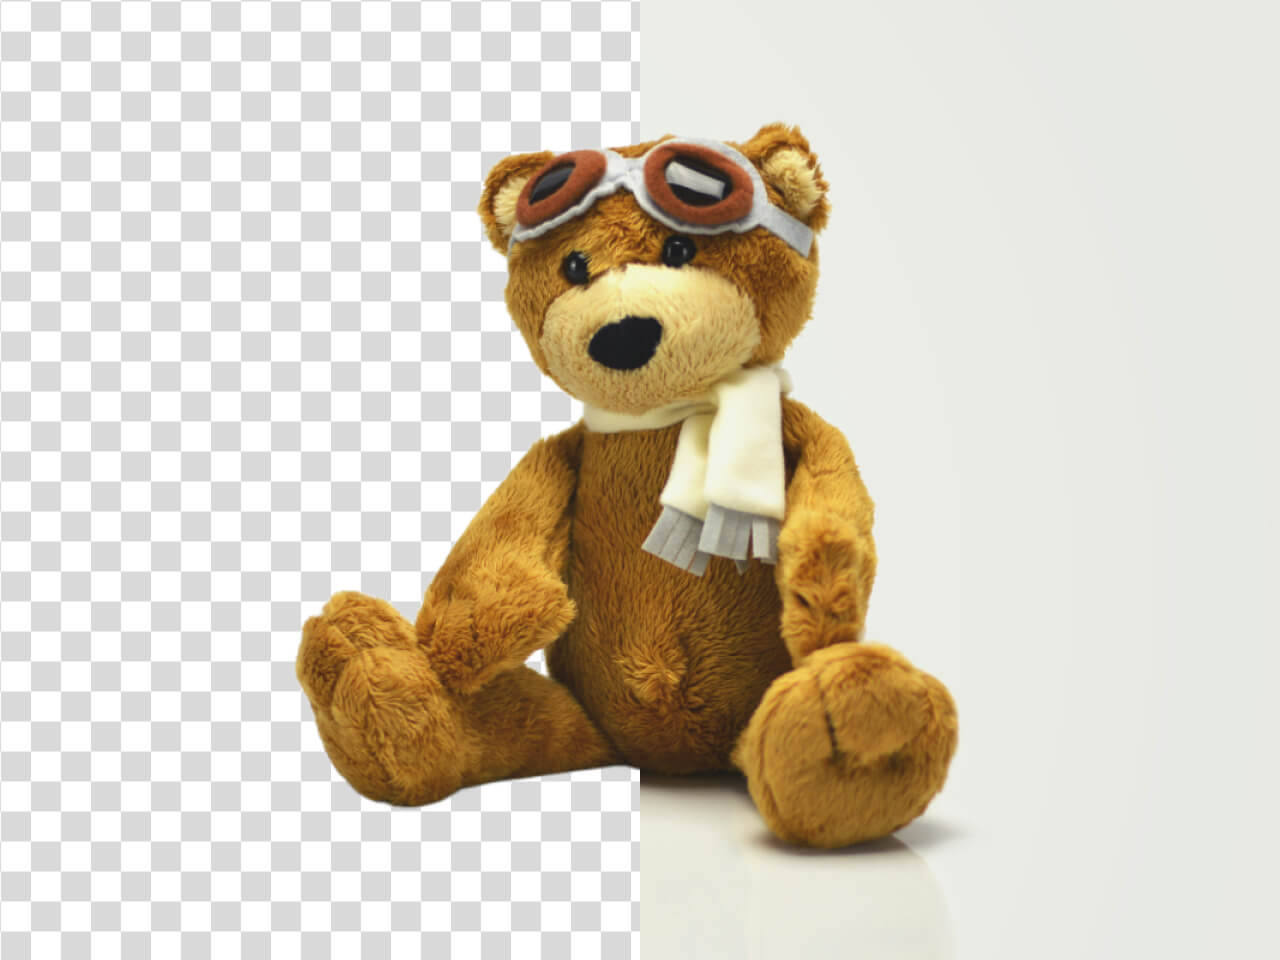
How to Use Transparent Product Images in Design Tools
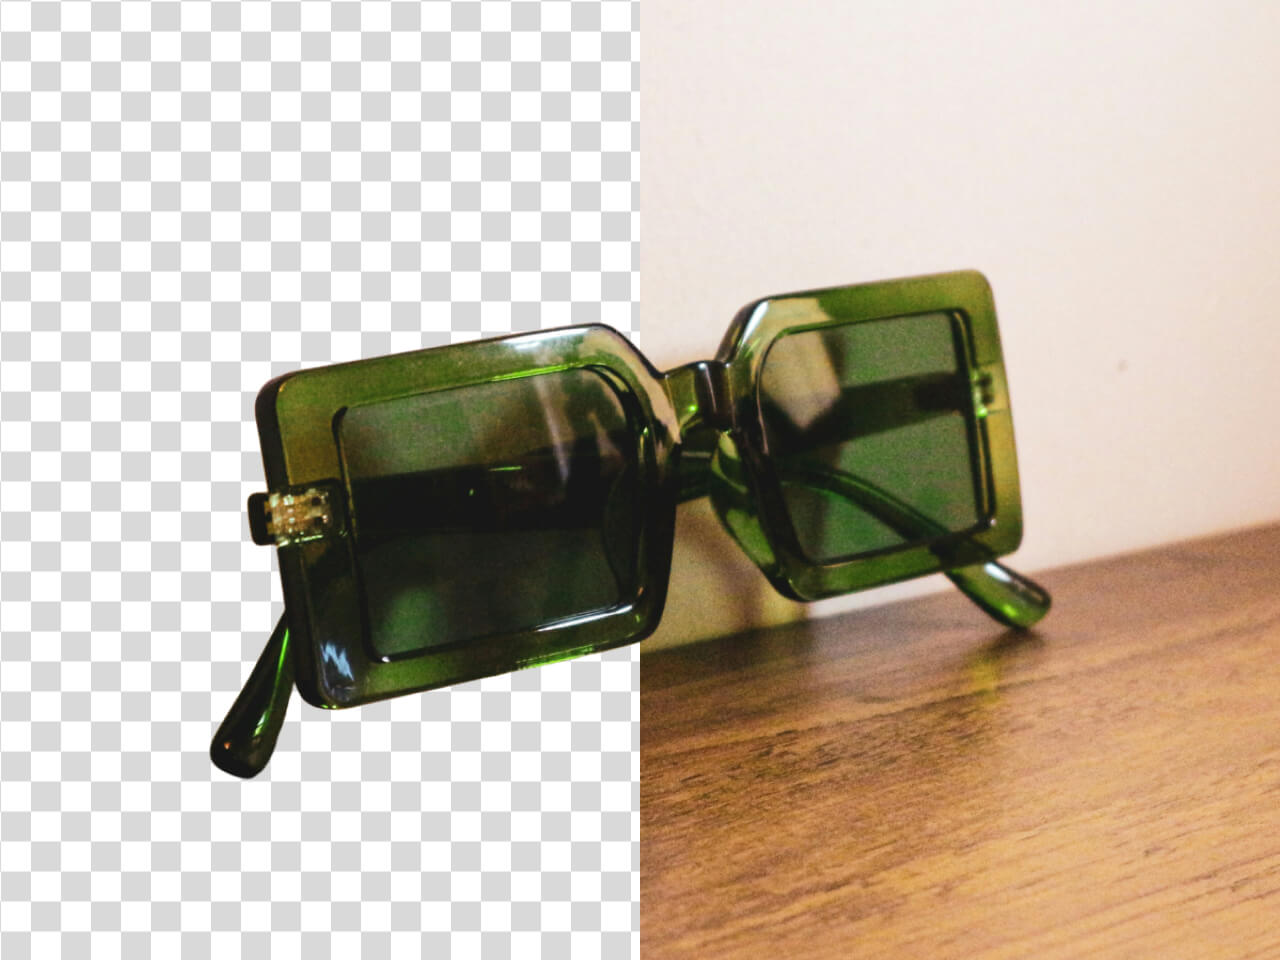
Once you have a clean transparent PNG, importing it into your design tools is straightforward. In Figma, simply drag and drop the file directly onto the canvas — Figma natively supports transparency and you can immediately layer the image over any background, apply shadows, or mask it into shapes. In Canva, upload the PNG through the sidebar and drag it onto your design — Canva Pro also includes built-in AI background removal if you need a quick cutout without leaving the editor. In Photoshop, use File → Place Embedded to import the transparent PNG as a smart object, then build layered compositions with full control over blending, edge refinement, and export settings. For presentations, Keynote and PowerPoint both support transparent PNGs — just drag them in and position over any slide background without a visible bounding box.
Build a Transparent Asset Library That Scales Across Your Team
The real value of transparent product images comes from reusability. Start by creating one high-resolution transparent PNG master for each product (minimum 2000px on the shortest side, PNG-24 with alpha channel). Name files consistently using a convention like SKU_type_resolution_version.png. Store masters in a shared folder organized by product line or collection. From each master, export channel-specific derivatives: a white-background JPEG at 2000px and quality 85 for product detail pages, a transparent WebP at 800px for category grids, a transparent PNG at 1200px for ad creatives and social media, and a compressed JPEG at 600px for email. When your brand colors change or a new campaign launches, you update the background — not the product image. This approach saves hours of re-editing and keeps every channel visually consistent.
Start now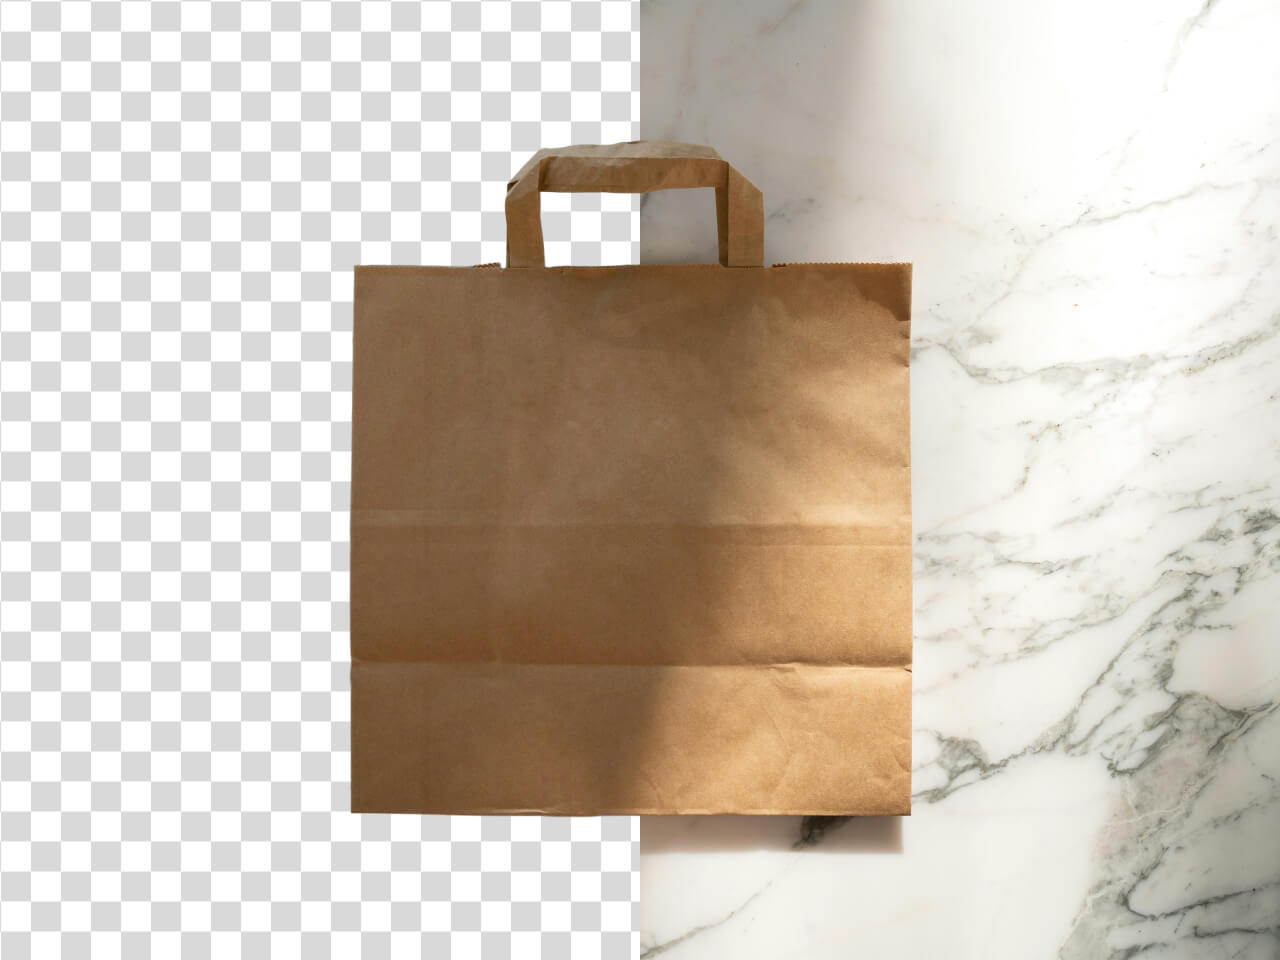
6 Common Transparent PNG Mistakes & How to Fix Them
These mistakes make transparent product images look unprofessional across channels. Check your own assets against this list.
1. Saving as JPEG instead of PNG
Fix: Always export as PNG-24 or WebP for transparency
JPEG does not support transparency — any transparent area becomes white or black upon export. For photographic product cutouts, use PNG-24 (not PNG-8 which is limited to 256 colors and causes banding). For web-only use where file size matters, WebP offers transparency at roughly half the file size of PNG.
2. White halo around product edges
Fix: Check edges against a dark background before exporting
AI background removal sometimes leaves a faint white fringe around edges. This halo is invisible on a white canvas but glows on dark or colored backgrounds. Before finalizing any transparent PNG, place a solid black layer behind it and inspect all edges at 200% zoom. Use Select & Mask with Shift Edge set to -2 to -5px to remove halos.
3. Using low-resolution source images
Fix: Start with at least 2000px on the shortest side
More pixels mean more edge data for the AI or manual tool to work with. A low-resolution source produces blurry, jagged edges that look unprofessional at any display size. Shoot or export source images at a minimum of 2000px — 3000px is even better for products with fine details like jewelry or fabric texture.
4. No structured file naming convention
Fix: Use SKU_type_resolution_version.png format
Files named final_v2_FINAL.png or product_transparent.png become unmanageable across a team. Adopt a consistent convention: SKU123_hero_transparent_2048_v01.png, SKU123_detail_white_2000_v01.jpg, SKU123_thumbnail_transparent_webp_800_v01.webp. This makes assets searchable, versionable, and easy to update in bulk.
5. Using the same format for every channel
Fix: Export derivatives optimized for each channel
A 3000px transparent PNG master is too large for email (600px JPEG works better) and the wrong format for a detail page (white JPEG converts better). Create channel-specific exports from your master: white JPEG for detail pages, transparent WebP for web grids, transparent PNG for ads and design tools, compressed JPEG for email.
6. Skipping the dark-background edge check
Fix: Make the black-layer test a mandatory step in your QA
Even AI tools that produce clean-looking results on white need verification. Add a black or dark gray solid color layer behind every transparent PNG and zoom to 200% along all product edges. This single check catches 90% of halo, fringe, and edge-quality issues before they reach a live campaign.
Create Your Transparent Product Assets Now
Upload a product photo above to create a clean transparent PNG. Check the edges against the color picker, verify at 200% zoom, and export the right format for each channel.